The Group Card creation wizard is four steps: pick an occasion, pick a template, add the recipient and delivery details, then invite your team. This article covers each step in depth.
Open the wizard by clicking + New Card on the card list view.
Step 1 — Pick an occasion
Group Card supports 9 occasion types. Each one comes with a themed set of templates, a default cover message, and a smart prompt the contributors will see when they sign.
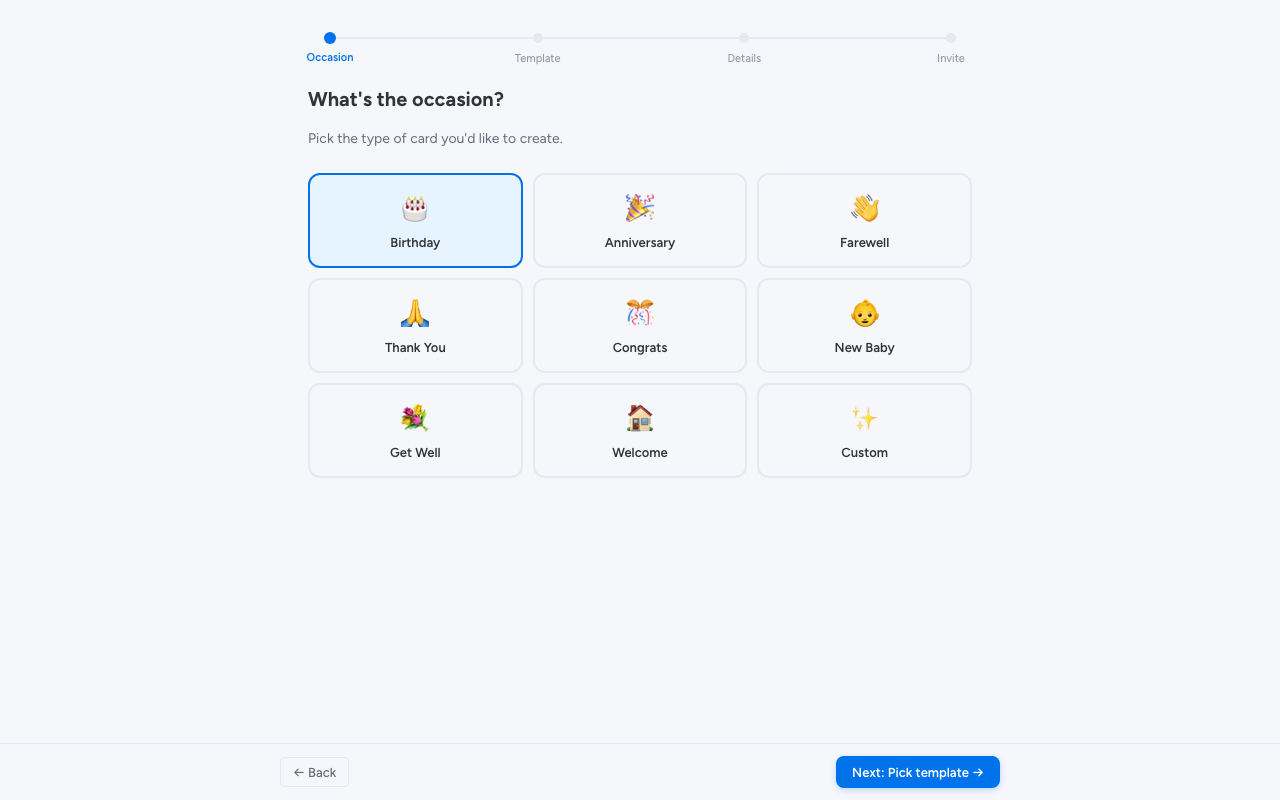
| Occasion | Best for |
|---|---|
| Birthday | Team birthdays |
| Anniversary | Work anniversaries and tenure milestones |
| Farewell | Someone leaving the team |
| Thank You | Spontaneous appreciation |
| Congrats | Promotions, project launches, big wins |
| New Baby | Baby announcements |
| Get Well | Showing support during illness |
| Welcome | Welcoming a new hire |
| Custom | Anything else |
Pick the occasion that fits the moment, then click Next: Pick template →.
Step 2 — Pick a template
The template gallery is filtered to your chosen occasion. Each template has its own opening effect (confetti, balloons, or none) baked in.
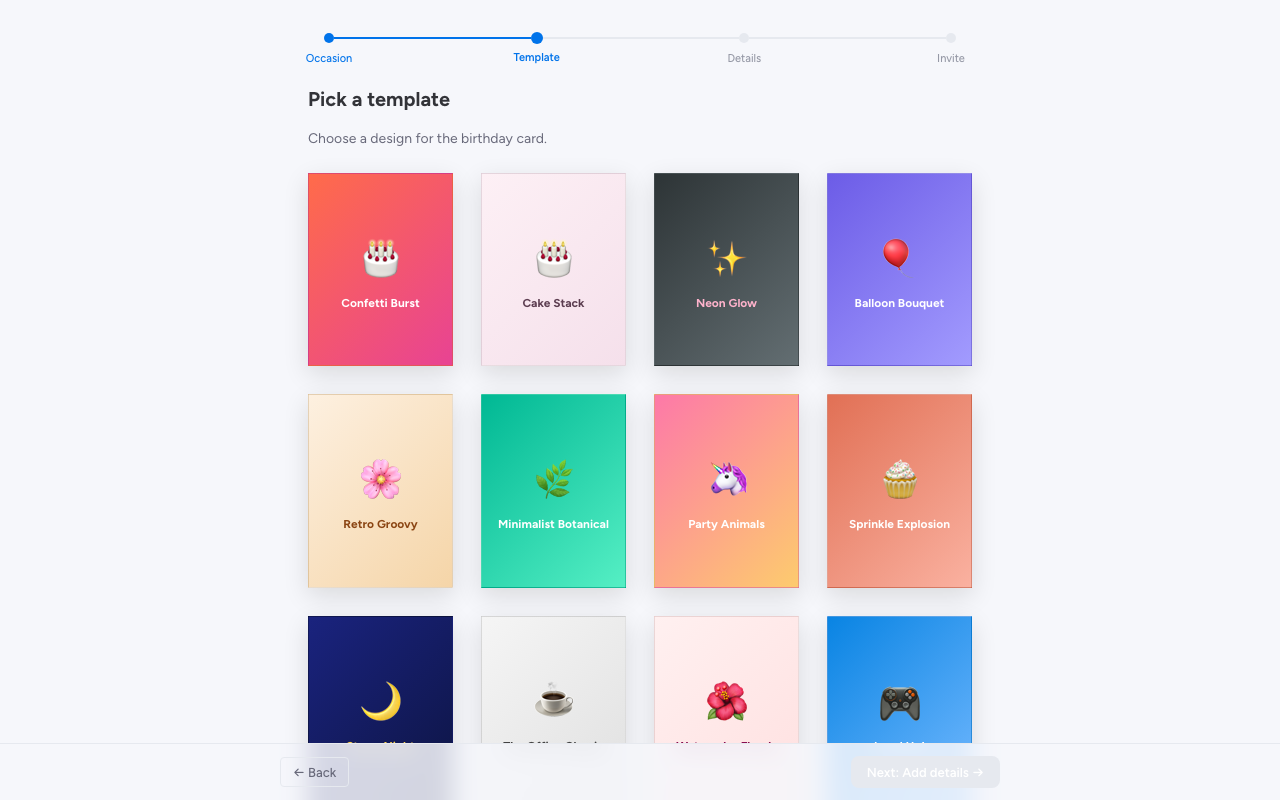
Click any template to select it. The selected template appears with a coloured border. Click Next: Add details → to continue.
Tip. Match the template style to the recipient’s personality — playful for the team comedian, minimal for the quietly great senior contributor.
Step 3 — Add details
This step is where you tell Group Card who the card is for and when to deliver it.
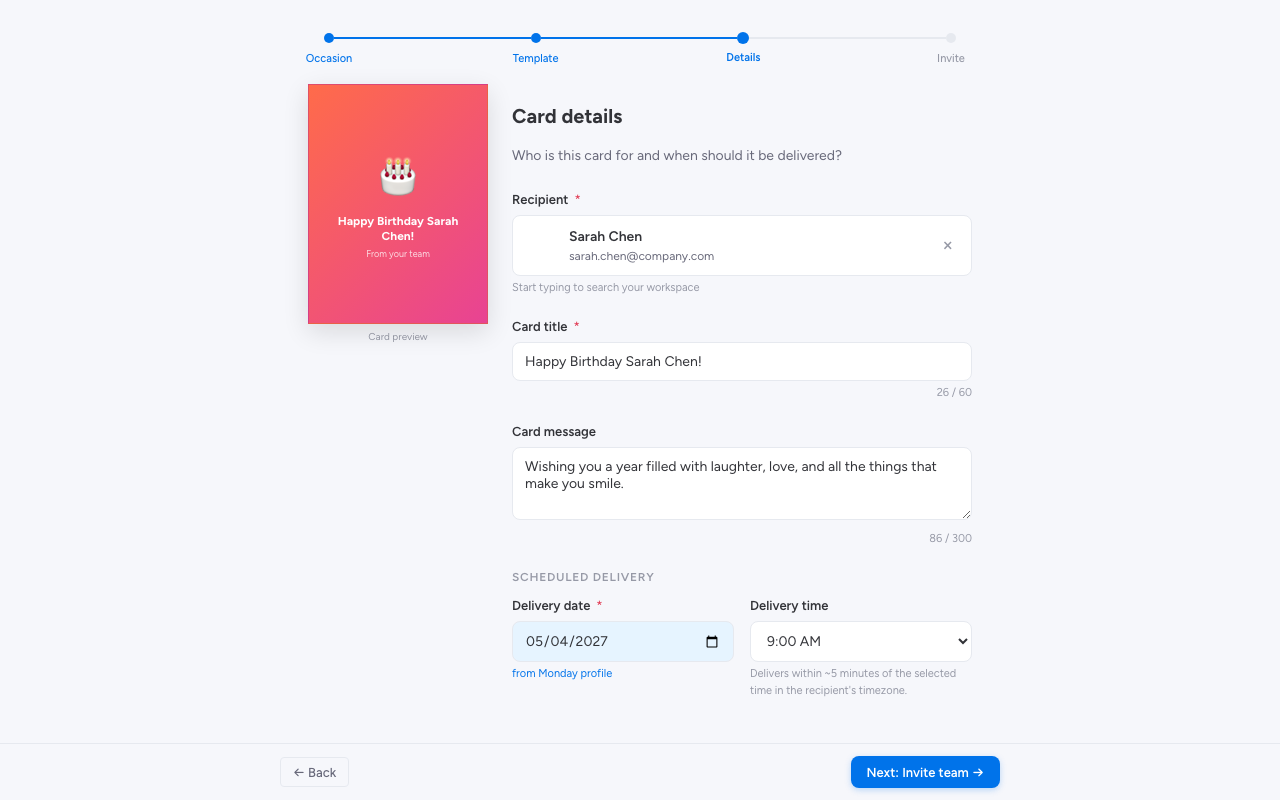
Recipient. Start typing in the search field to find a teammate from your workspace. Click their result to select them. The card title auto-fills based on the occasion — for a Birthday card to Sarah Chen, it becomes “Happy Birthday Sarah Chen!”. You can edit the title manually; once you do, it stops auto-updating.
Card message. Each occasion has a default cover message that appears on the inside cover of the card. Edit it or write your own — this is what the recipient sees first.
Delivery date and time. Pick when the card should be delivered. The date defaults to a sensible value based on the occasion (for example, the recipient’s birthday from their monday.com profile, where available). The time defaults to 09:00 in the recipient’s timezone — the start of their workday.
Past dates are blocked. The form prevents you from picking a delivery date in the past, so you can’t accidentally schedule a card that would never deliver.
Click Next: Invite team → to create the card.
Step 4 — Card created
When you advance past the details step, Group Card creates the card and lands you on the confirmation screen:
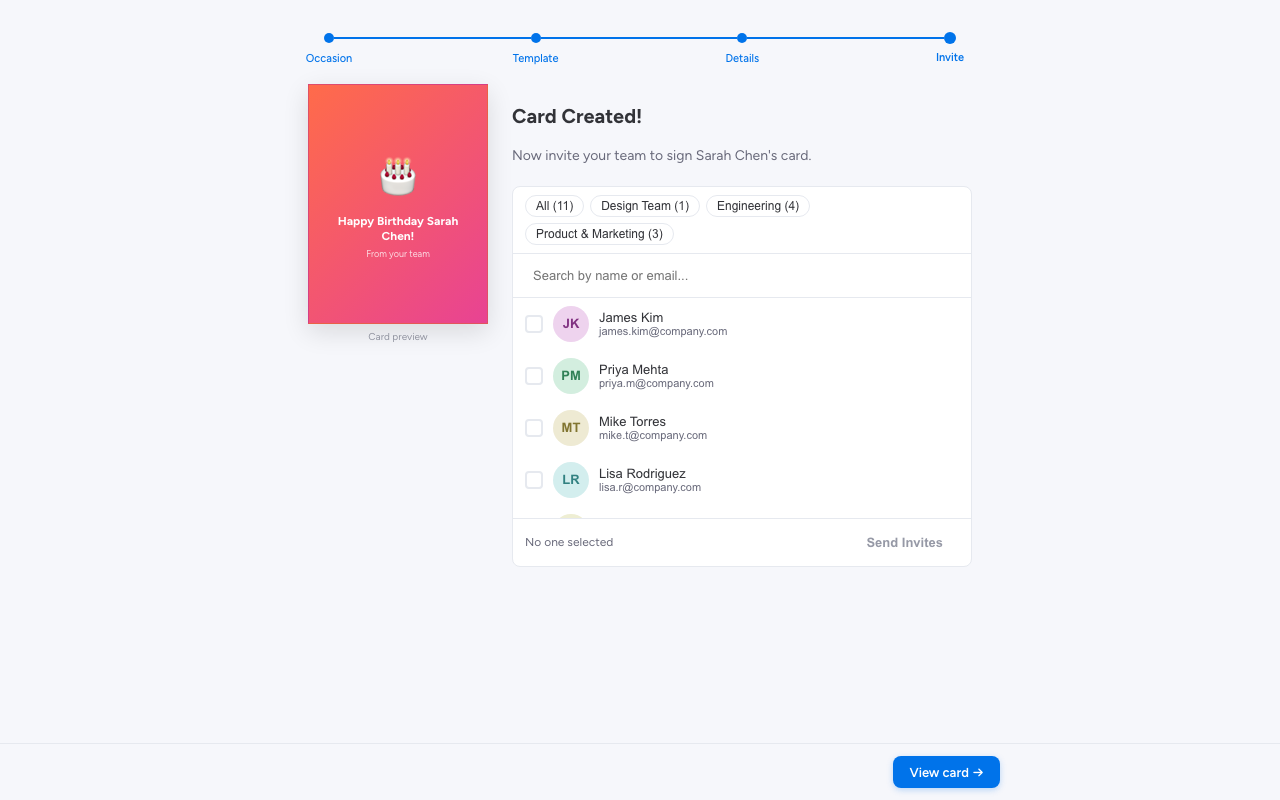
From here you can either invite teammates straight away or click View card → to open the organizer dashboard.
If you skip the invite step now, you can always add contributors later from the Signers tab on the card detail page — see Inviting contributors.