This guide walks you through adding Group Card to a board, creating your first card, inviting your team to sign, and scheduling delivery.
Note on monday.com seat types. Group Card requires a full member seat. Users on viewer seats and guest users cannot open the app — they will see an “access restricted” message and must contact a workspace admin to be upgraded to a member seat.
Step 1 — Add Group Card to your board
- Open the monday.com board where you want to manage group cards.
- Click the + button at the top of your board, next to your existing views.
- Select Apps from the view options.
- Search for Group Card and select it.
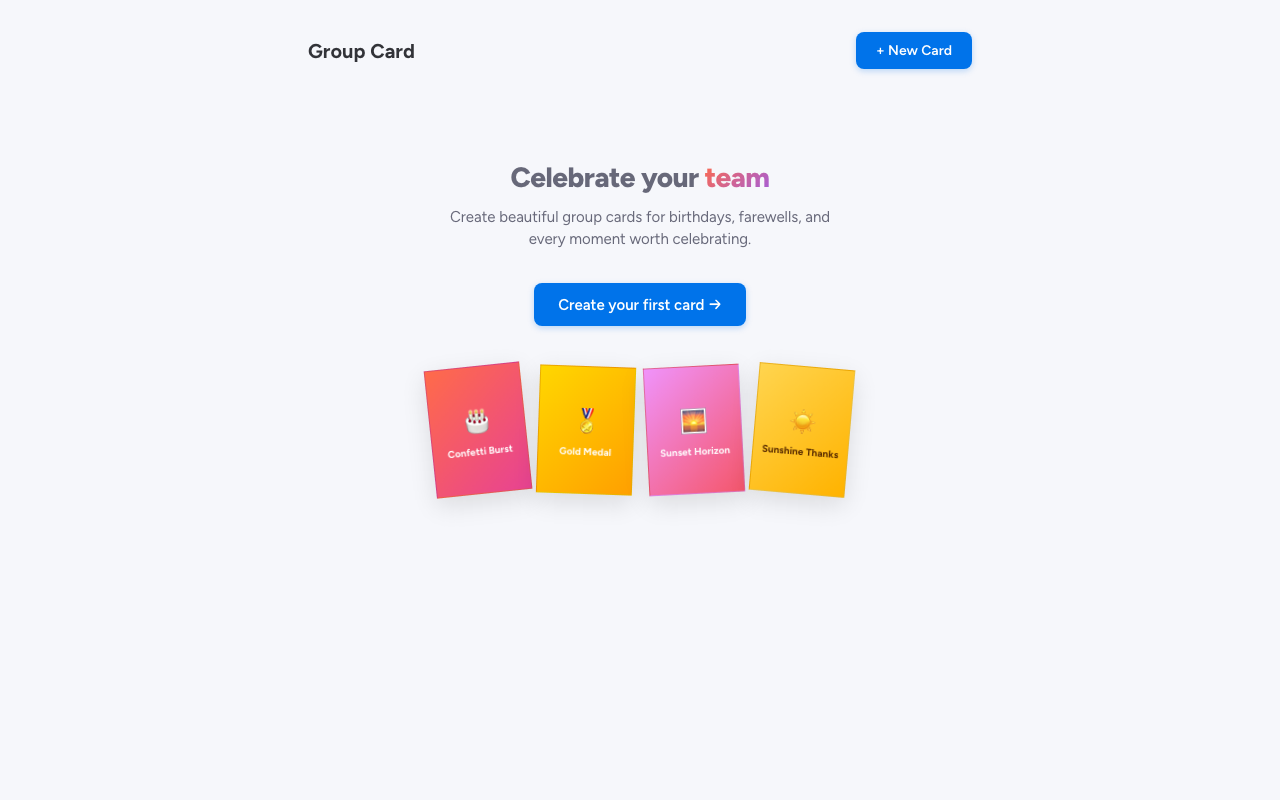
The app opens as a new board view. The first time you open it, you’ll see the empty state — a celebration hero ready for your first card.
Group Card’s top nav has four tabs: Cards (everything you’re organizing), Events (upcoming birthdays and anniversaries from your workspace), Templates (browse the full stock library), and Settings (plan, scheduled delivery, and workspace defaults).
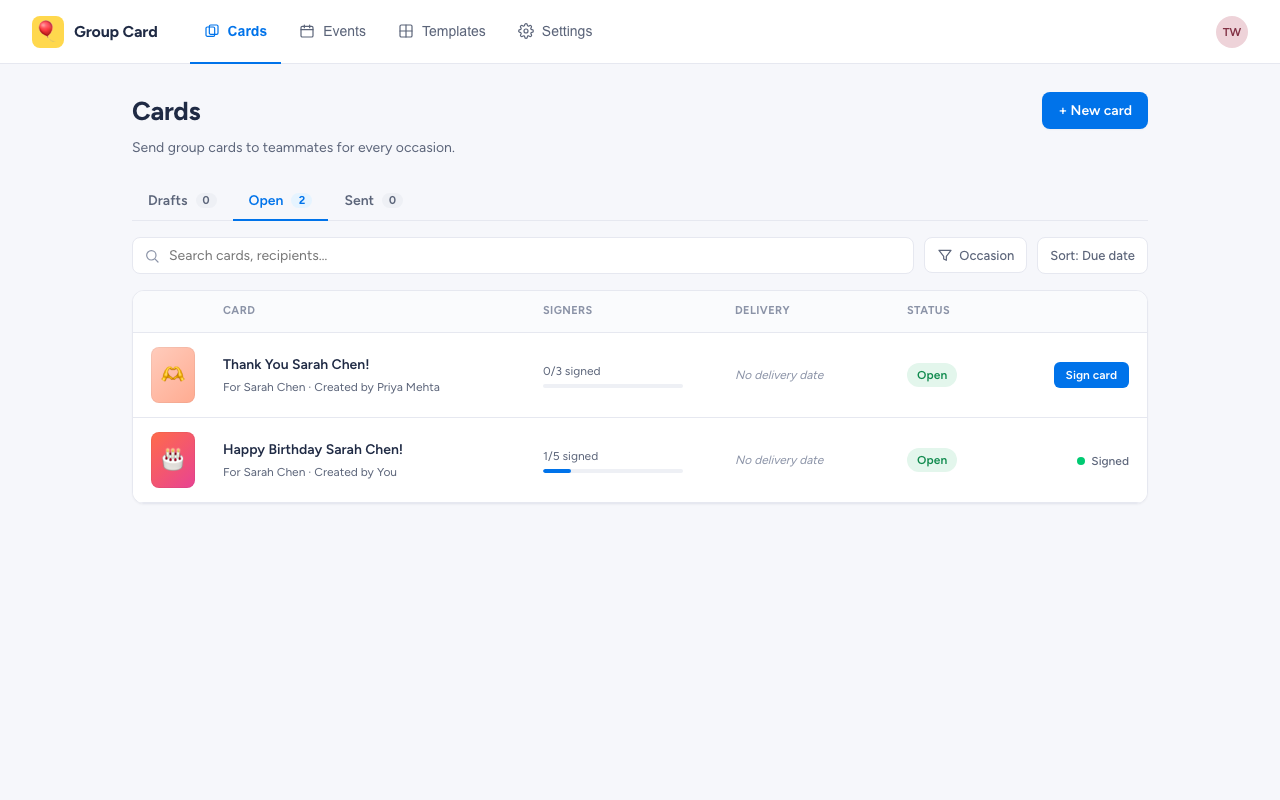
You can start a card three ways: the + New Card button on Cards, the Create card button next to an upcoming row in Events, or a tile in the Templates library. This guide uses the + New Card path; the others jump straight into the same wizard with a few fields prefilled.
Step 2 — Create a card
Click + New Card to open the four-step creation wizard.
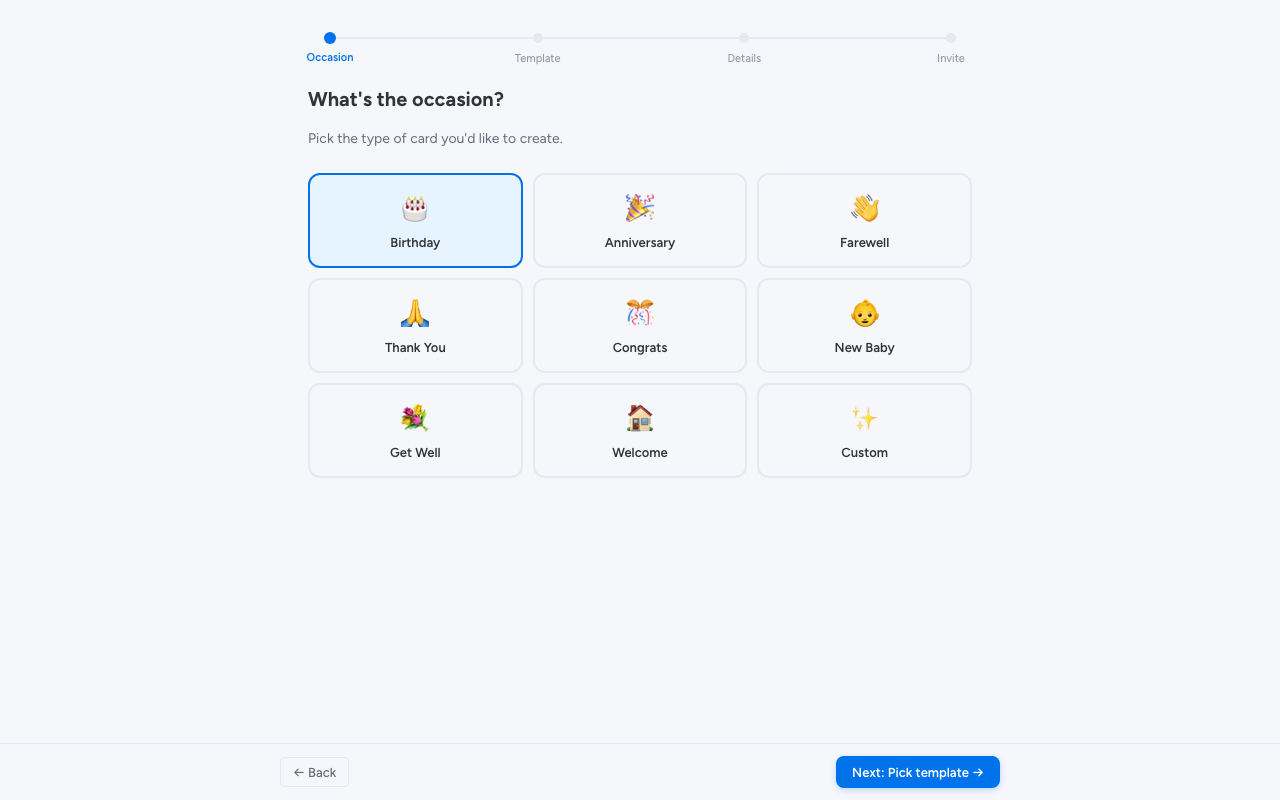
Pick an occasion. Group Card supports 9 occasion types: Birthday, Anniversary, Farewell, Thank You, Congrats, New Baby, Get Well, Welcome, and Promotion. Each occasion comes with themed templates and a default cover message you can edit.
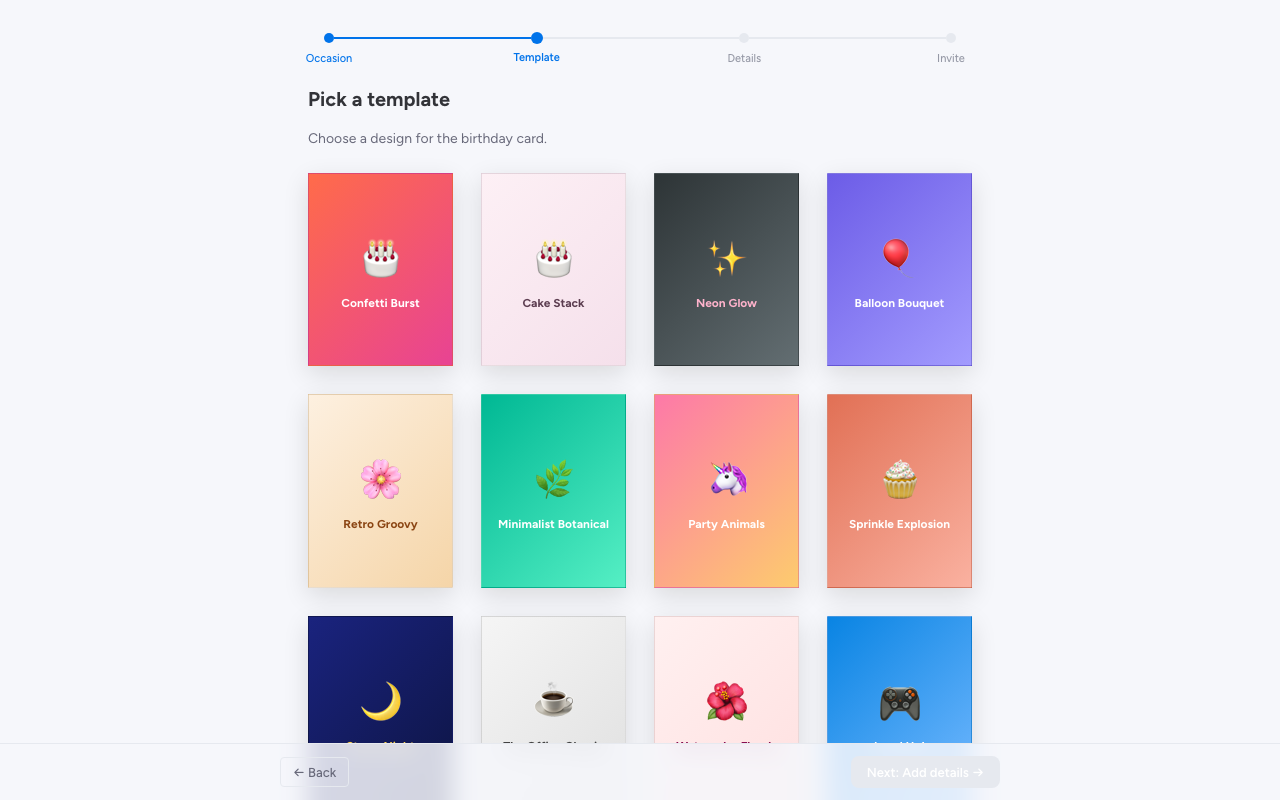
Pick a template. The gallery is filtered to your chosen occasion. Each template comes with its own opening effect (confetti, balloons, or none).
Add details. Pick the recipient from your workspace, set the card title, write a cover message, and choose the delivery date and time. The live preview on the left updates as you type.
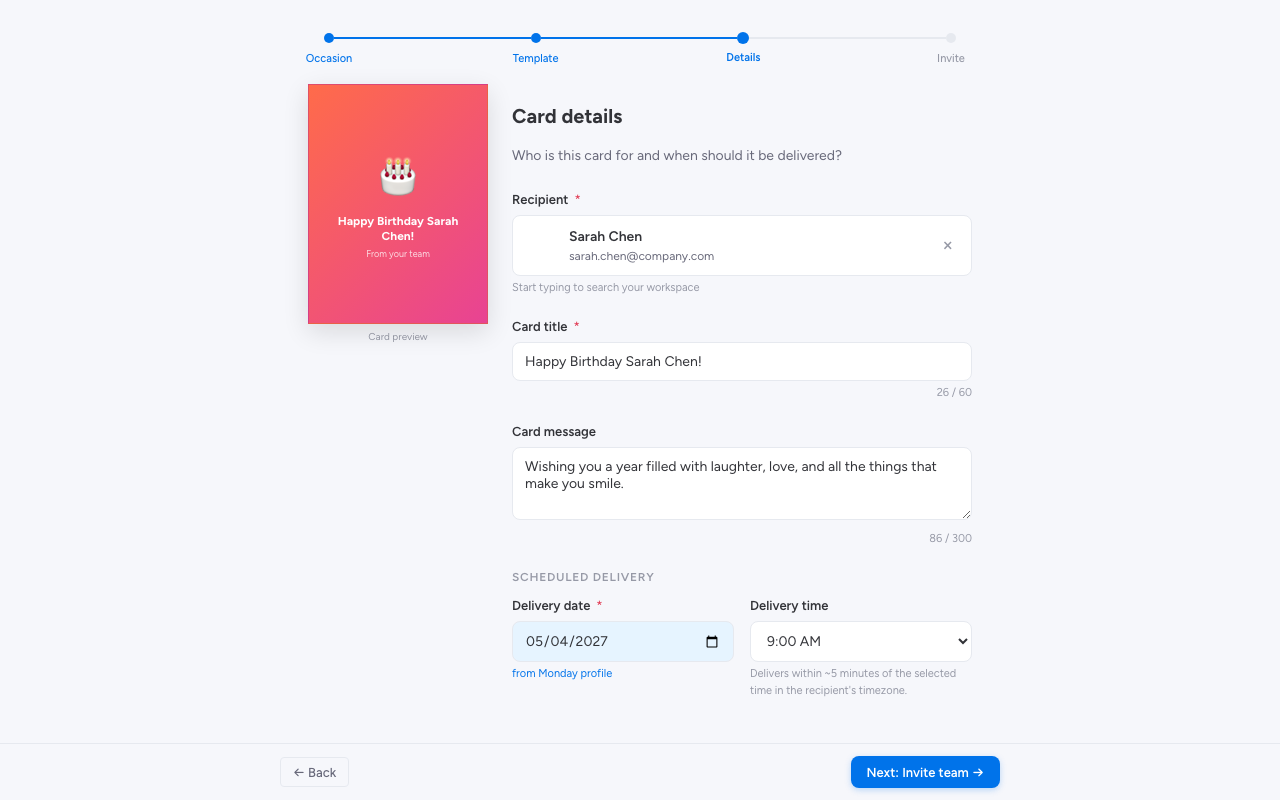
Confirm. When you advance from the details step, Group Card creates the card and you’ll see the confirmation:
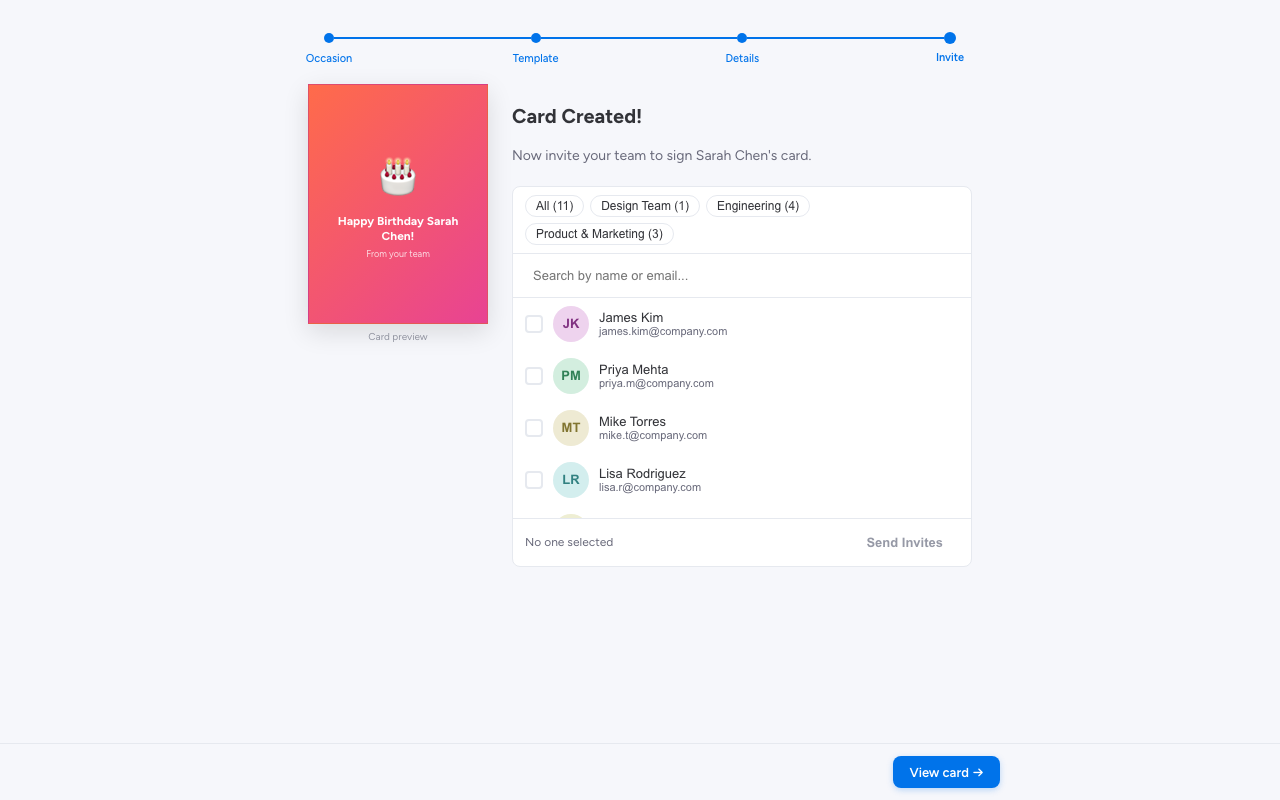
For a deeper walkthrough, see Creating a card.
Step 3 — Invite contributors
After the card is created, open it and use the Signers tab to invite teammates from your workspace. Click the Invite toggle, select the people you want to sign, and send. Invited teammates get a monday.com bell notification with a link to sign the card.
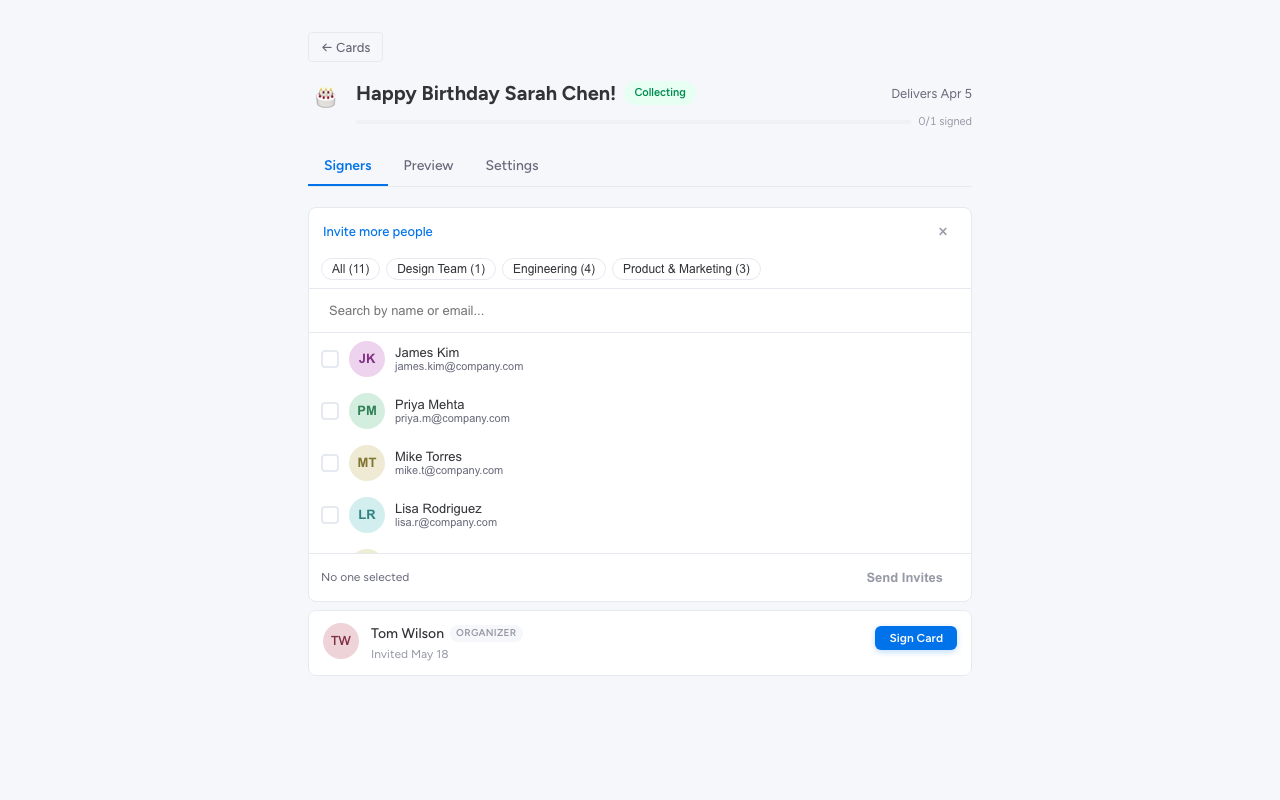
If someone hasn’t signed yet, click the Remind button on their row to send a nudge — no individual follow-ups needed. See Inviting contributors for details.
Step 4 — Sign the card
Each contributor (including you, the organizer) writes their message in the signing composer:
- Type a personal message — the textarea includes a smart prompt for the occasion.
- Pick a font — choose from a curated set of fonts.
- Add a GIF (optional) — browse Giphy directly from the composer.
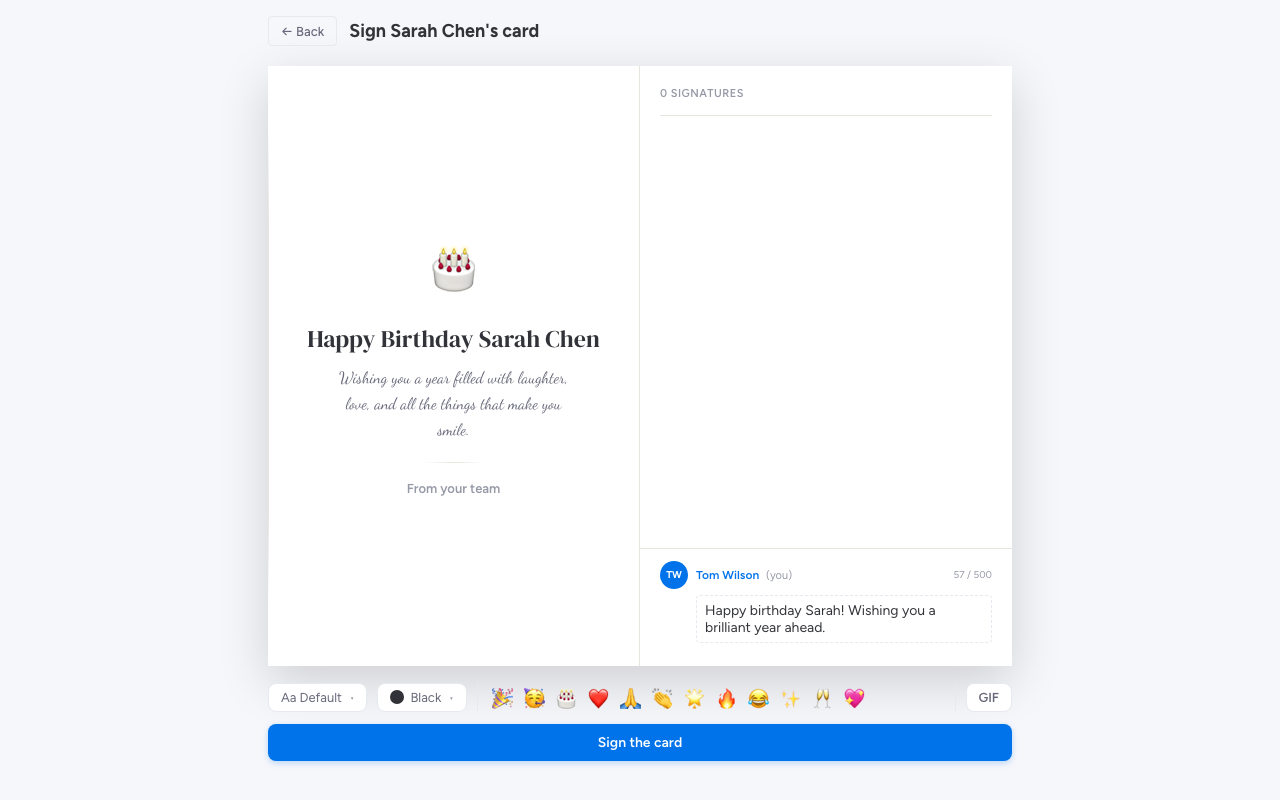
When you submit, you’ll see a celebratory confirmation screen.
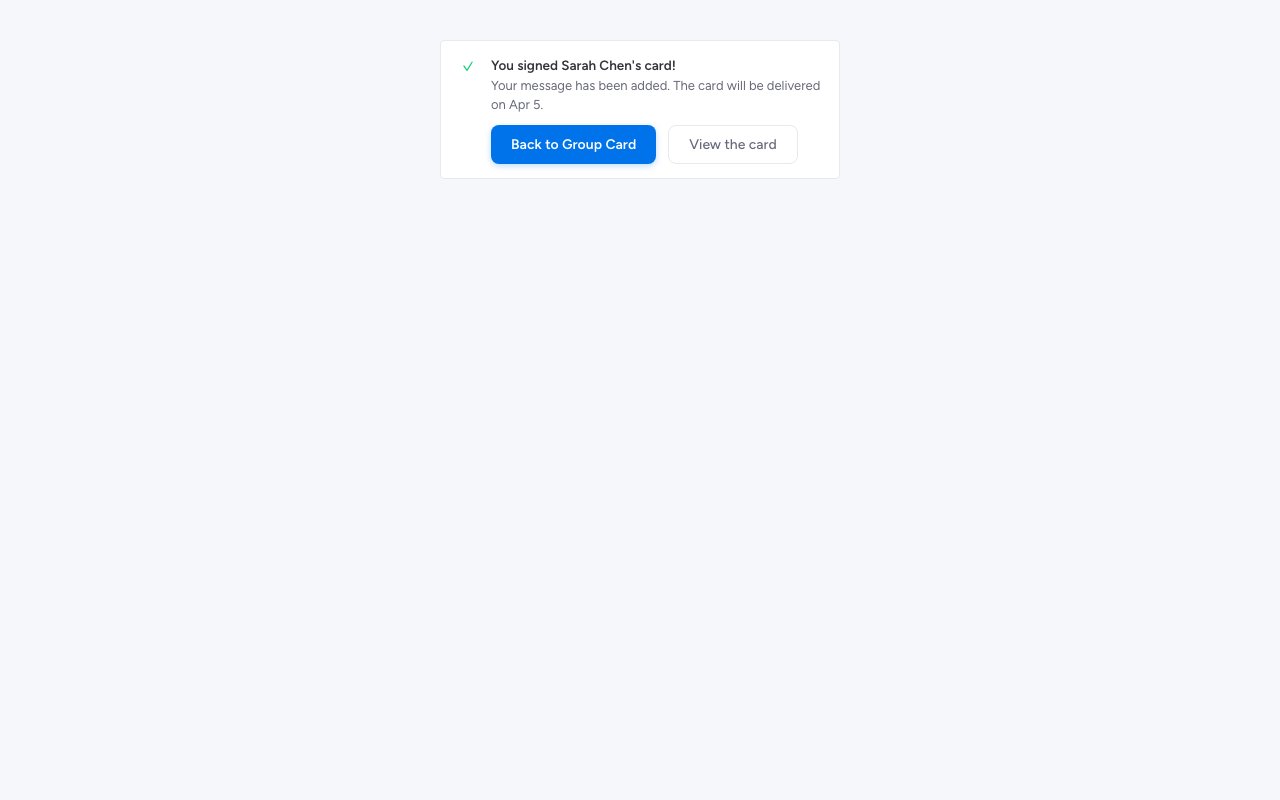
For the full signing experience, see Signing a card.
Step 5 — Track and deliver
Back on the card detail page, the Signers tab shows who has signed and who’s still pending. The Preview tab lets you see the card exactly as the recipient will see it. The Settings tab lets you change the delivery date or trigger immediate delivery.
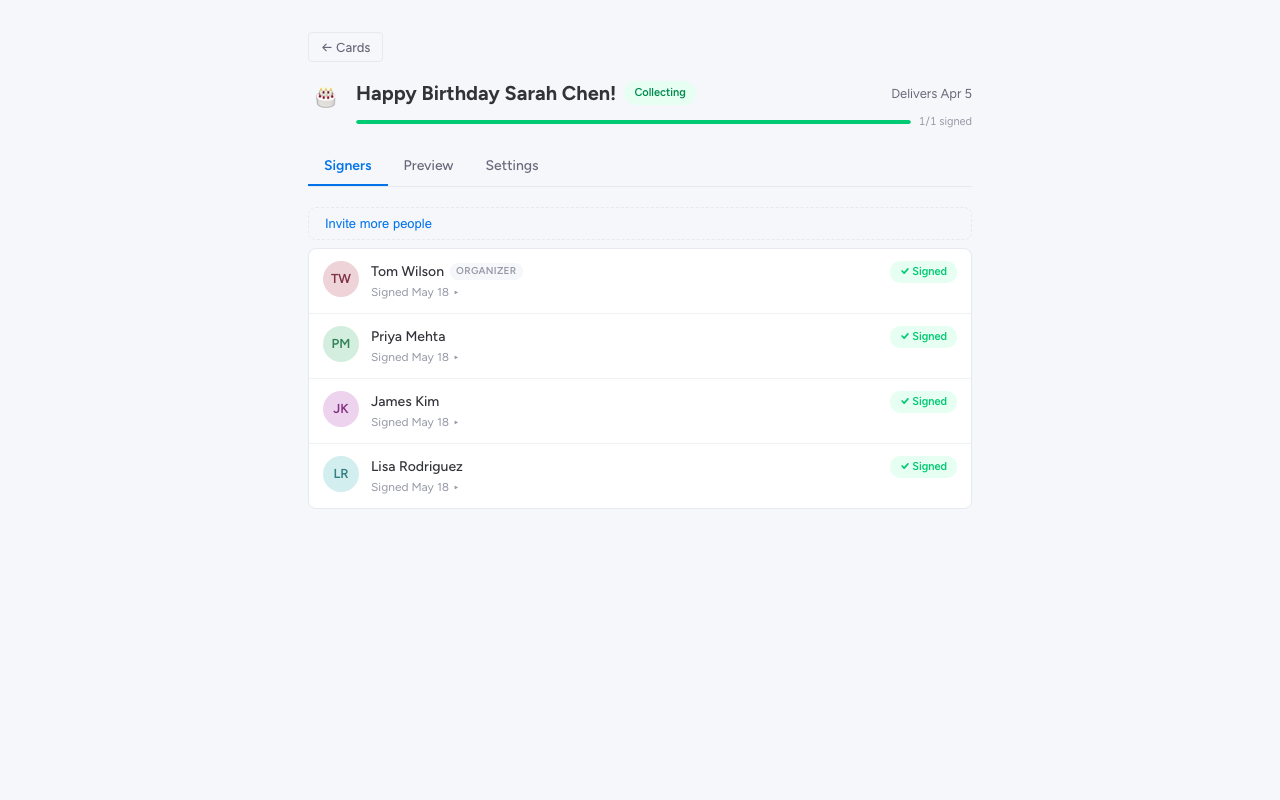
On the scheduled delivery date, Group Card delivers the card automatically — no action needed from you. The recipient gets a monday.com notification, and when they open the card they see the opening effect (confetti, balloons, or sparkles) followed by every message from the team.
For organizer controls, see The organizer dashboard. For delivery and the recipient experience, see Delivery and the recipient experience.